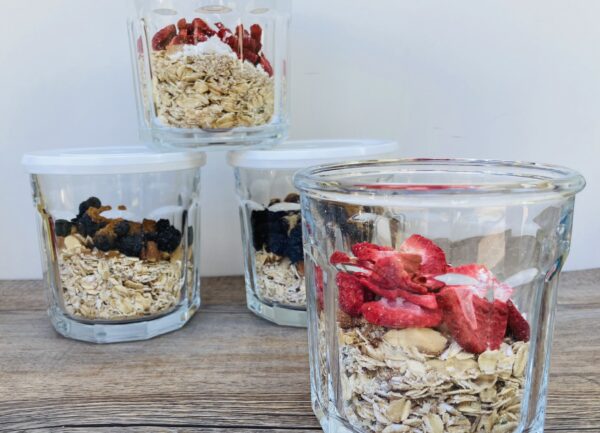
DIY instant oatmeal in a jar.
Instant oatmeal cups are a delicious, quick way to start your day. But wow … so expensive. Here’s a recipe for making your own instant oatmeal in a jar.
Instant oatmeal cups are a delicious, quick way to start your day. But wow … so expensive. Here’s a recipe for making your own instant oatmeal in a jar.
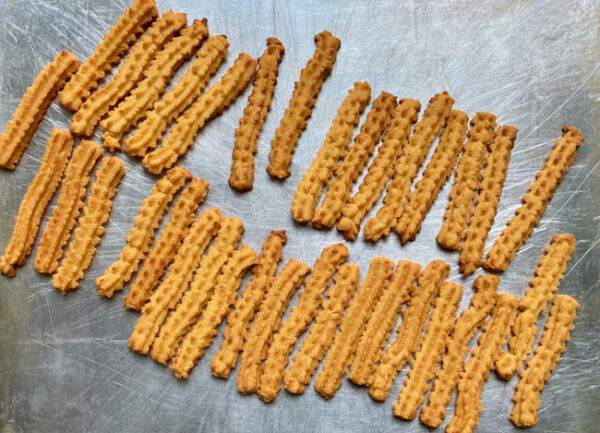
These Southern cheese straws are strongly cheddary, crisp, pretty and perfect with a glass of wine. Time to get out that cookie press!
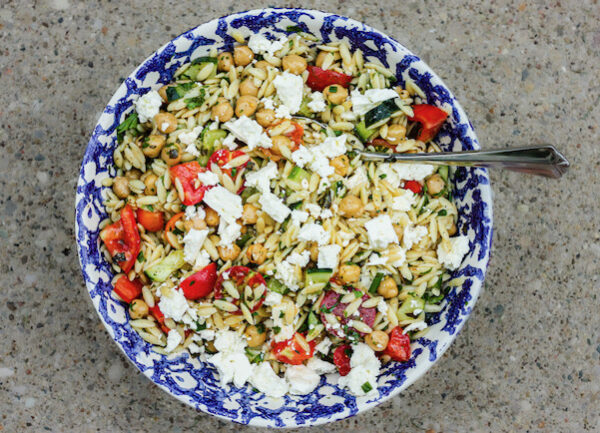
You’ve had what I call “sad pasta salad” — that takeout deli stuff with corkscrew pasta and way too much bottled Italian dressing. This pasta salad is NOT sad pasta salad! It’s the only pasta salad recipe you need.
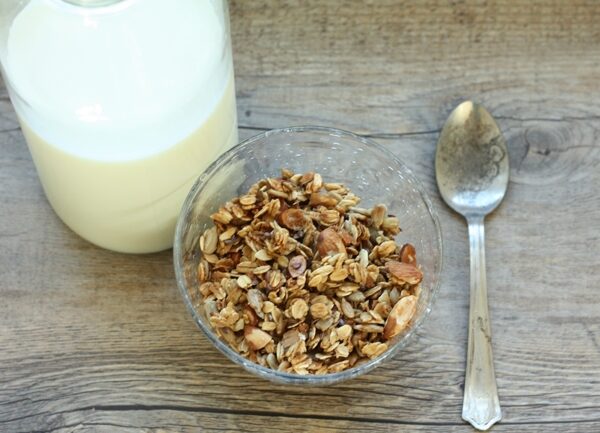
Here it is: granola perfection. Toasty brown, not too sweet, with a kick of sea salt, and clumpy enough to eat out of hand. I’ve worked this recipe over and over, and now it’s Perfect Homemade Almond Granola.

Bottled salad dressing is just so icky. Here’s a homemade salad dressing that’s super easy and delightfully lemony.
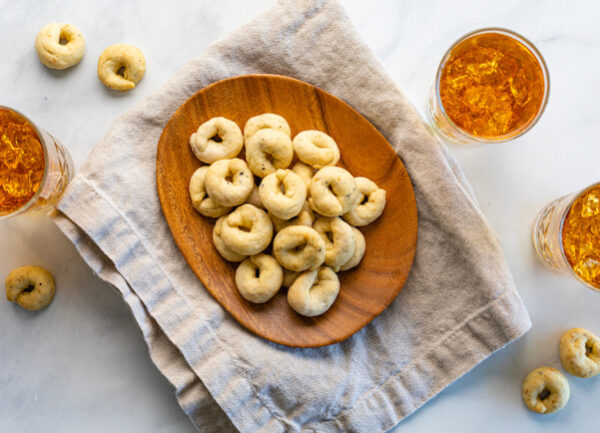
Cute and round and packed with flavors of olive oil, pepper and salt, these little, round, shortbread-like crackers called taralli are perfect with an aperitivo. You could buy them, sure, but they’re SO fun to make!

On a quest to solve the between-breakfast-and-lunch hungries, I created this recipe for Dark Chocolate and Sea Salt muesli.
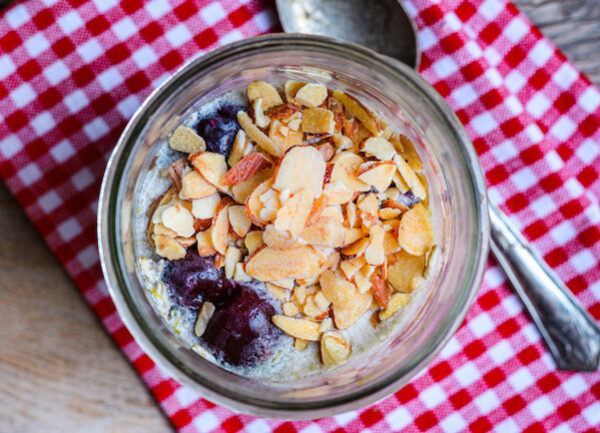
Totally loving this supereasy overnight oatmeal in a jar, with sweet cherries and crunchy slivered almonds. Mix up several jars ahead of time and enjoy a healthy breakfast any day of the week!
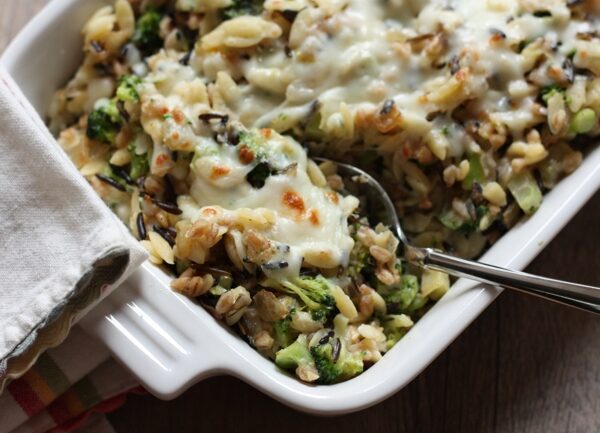
My most popular recipe, for broccoli-rice bake, is so warm and comforting that you’d be surprised how healthy it is. Swap low-fat versions for the yogurt, ricotta, and cheese in this recipe for an even better-for-you variation.
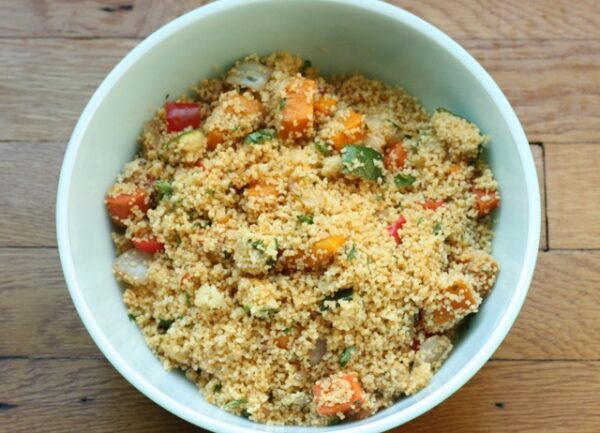
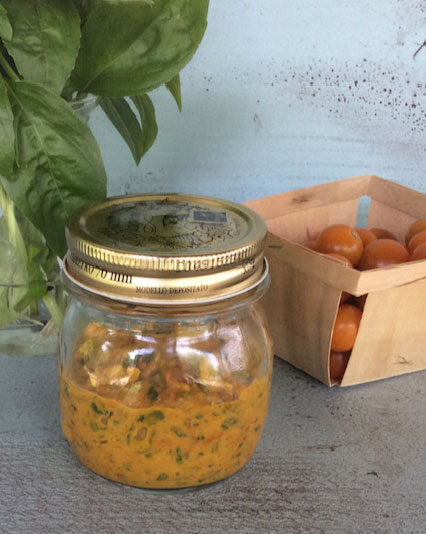
If you’re fatigued by lousy pasta salad drowning in dressing, soggy potato salad or other sad, sad side dishes, give this vibrant and full-flavored side a try. Perfect with grilled chicken, fish, even BBQ.
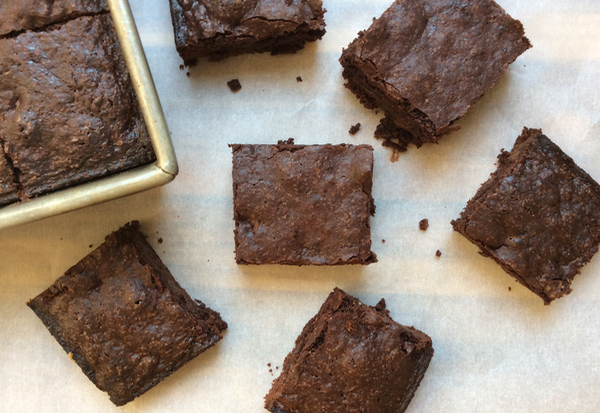
The Best Fudge Brownies Ever. That’s the title of this recipe that I found tucked into my grandmother’s “Kitchen Klips” file of old recipes. So, yeah, that one went on my list of her recipes to make. And it’s awesome. Best Ever? You decide!
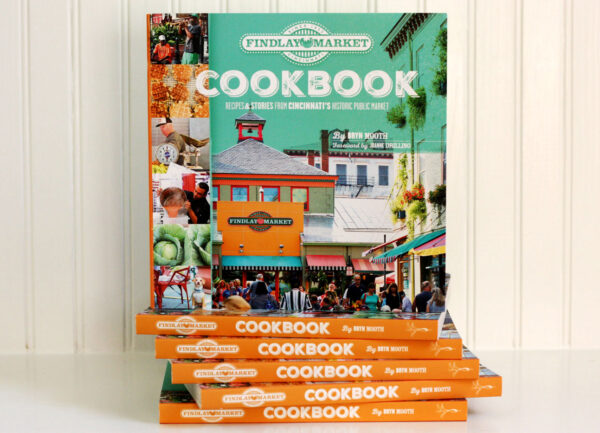
My cookbook, The Findlay Market Cookbook, is Cincinnati’s local cookbook — a celebration of local food as it’s best represented by Cincinnati’s historic public market.
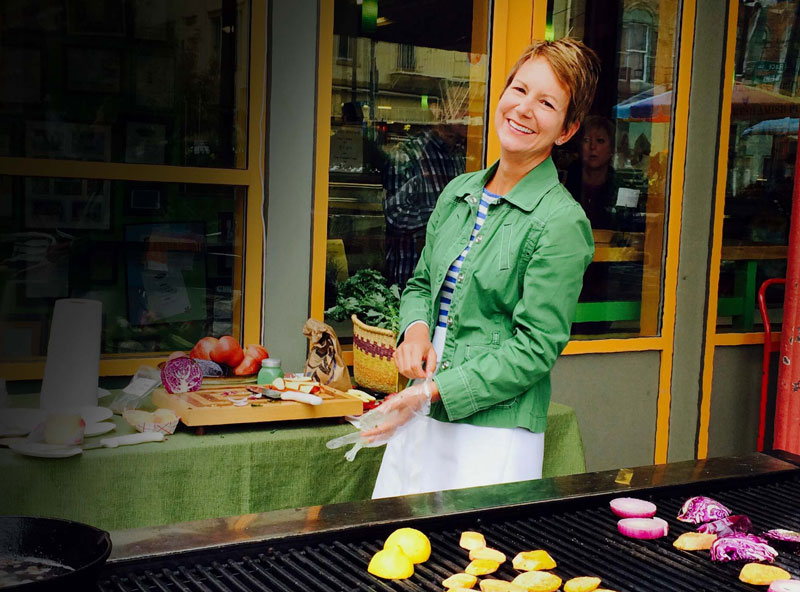
In addition to sharing easy recipes here, I’m the editor of Edible Ohio Valley magazine and the author of “The Findlay Market Cookbook.” I’m a journalist, writer and editor focused on food, wellness and creativity. I love to speak about local food and teach casual cooking classes around the Cincinnati region.

![]()