Yeah, I know: Everyone’s doing this. I’m late to the party. But I just discovered how very much fun it is to make yogurt. Considering that I’ve been making my own homemade butter for a long time, it’s a wonder that it’s taken me this long to get around to yogurt.
I eat a lot of plain yogurt (I prefer the Fage brand of Greek yogurt, either lowfat or nonfat). I use it in place of sour cream for all sorts of recipes (like blue cheese dressing). And I mix it with fruit, jam and honey for my better-than-store-bought version of fruit-on-the-bottom yogurt cups. Plain yogurt is a great topper for tacos or quesadillas or baked potatoes … and, of course, it’s perfect with homemade granola for breakfast.
So I decided to try making my own yogurt. Not so much for frugality’s sake (it’s probably no cheaper to make it yourself), but because I have access to such great raw materials—namely, Snowville Creamery milk. For my first go-round, I used Snowville’s whole milk, but I’ll soon be trying this yogurt recipe using 2%.
Oh. My. God. This stuff is good great.
Plus, it’s just geeky fun to make. I love the science-experiment nature of watching something go from liquid to semi-solid, thanks to heat, time and some little probiotic thingies (the live and active yogurt cultures). It would be fun to do homemade yogurt with kids. And the best thing is, it doesn’t require an electric yogurt-maker (I’m not one for ‘-makers’ of any kind).
HOW TO MAKE HOMEMADE YOGURT
(recipe adapted slightly from Food and Wine)
4 cups whole milk (I'm going to try 2% next time)
2 Tbsp. plain yogurt
Measure 4 cups of milk into a pan, and transfer 2 Tbsp. of that to a small bowl. Whisk together the 2 Tbsp. of milk and the 2 Tbsp. of plain yogurt until smooth and well-combined. Bring the pan of milk to a boil over medium heat, stirring occasionally to prevent scorching. When it reaches a full boil, immediately take the pan off the heat and set aside. A skin will form on the surface. Let the milk cool until it reaches 100 degrees on a thermometer (this took about 30 minutes in my kitchen). Using the tip of a paring knife, make a small opening in the skin on the surface of the milk and carefully pour in your milk/yogurt mixture. This is the "starter" that will activate the culturing process.
Cover the pan with a clean kitchen towel and place it on the middle rack in the oven; turn the oven light on and close the door. The light will generate enough warmth to incubate the yogurt cultures. As this happens, the yogurt will thicken and separate into soft solids and watery whey.
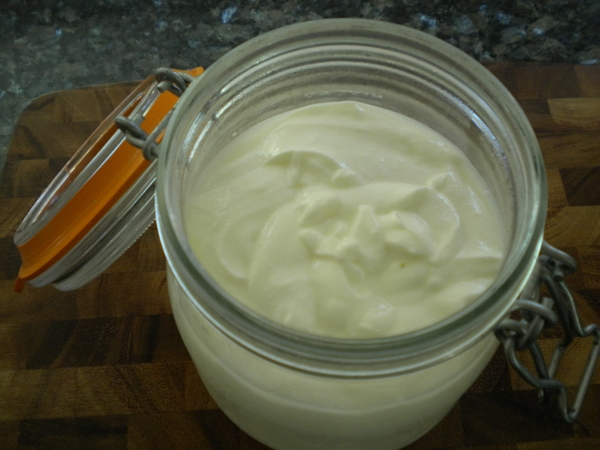
Let the pan stand in the oven for 16 hours. Yep, that's right. I started my batch after work one evening and left it overnight. Then, take a skimmer or slotted spoon and gently scoop the creamy yogurt out of the pan into a sieve lined with a double layer of cheesecloth. Refrigerate until most of the whey drains off and the yogurt's texture and thickness is to your liking. The longer it drains, the firmer/thicker it becomes. (I left mine to drain about 30 minutes; the recipe suggests 4 hours for a real thick Greek-style yogurt.) Transfer the yogurt to a covered container and whisk it smooth. It will keep in the fridge for a month, if it lasts that long.


I’m trying this Bryn. I’ll let you know how it turns out. I have high hope because the homemade butter is awesome.
Pingback: We love Snowville. | writes4food | cooking, eating, drinking in the Midwest
Pingback: Fun ingredient of the week: Labneh. | writes4food | cooking, eating, drinking in the Midwest
Pingback: Recipe revamp: fall granola. | writes4food | cooking, eating, drinking in the Midwest
Pingback: Best recipes of 2012. | writes4food | recipes and wisdom from a Midwestern kitchen
Pingback: Foodie trends: Predictions for 2013. | writes4food | recipes and wisdom from a Midwestern kitchen
Pingback: How to make creamy homemade ricotta. | writes4food | recipes and wisdom from a Midwestern kitchen
Pingback: Grandma’s homemade noodles. | writes4food